
DIY Farmhouse Table Riser
While browsing down the aisles at my favorite thrift store, I found this wooden cutting board for a couple of bucks. Yes, it was scuffed and scratched, but it had huge potential! I pretty much purchase anything that is solid wood because they make great makeovers. Here is how to make a simple DIY Farmhouse Table Riser from a thrift store find.
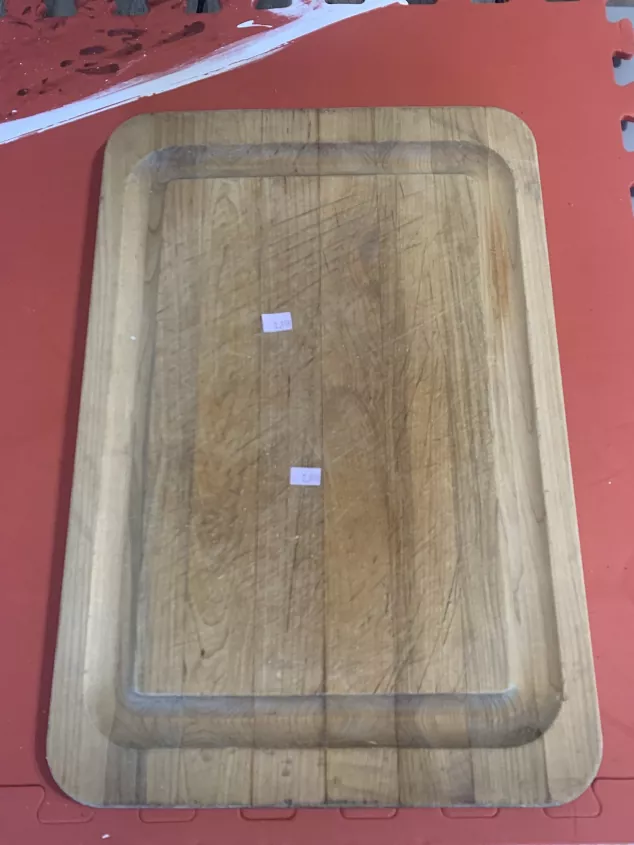
My dining room table is a 7’ farm table that the Hubs built for me about a year ago. I had been using a boring wooden box. The cutting board would be the perfect size for my table riser centerpiece.
Color of DIY Farmhouse Table Riser
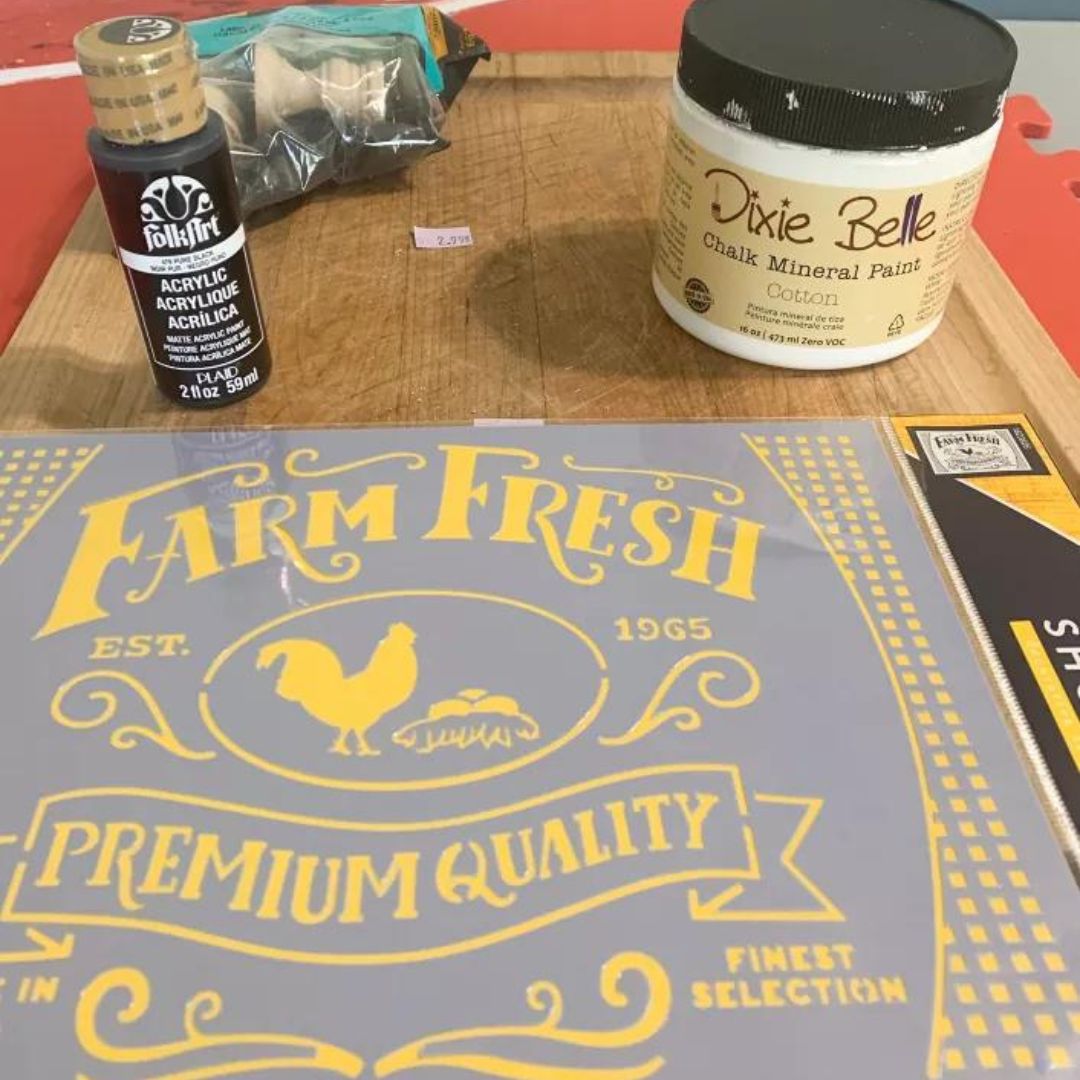
The color for my DIY Farmhouse Table Riser would be white. I knew it would look good against the wood grain of my farm table.
I wanted to use a stencil on top, and Hobby Lobby does not have many farmhouse stencils. Amazon had this set of farmhouse stencils for around $8.00. For 10 stencils you can’t beat the price. And, to my surprise, they are super sturdy and easy to clean so you can use them over and over again.
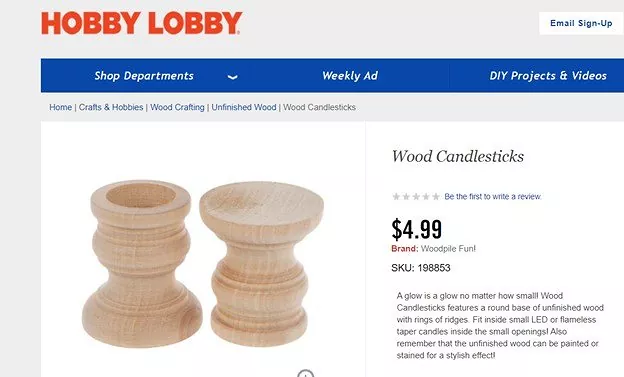
I did not have any feet for the DIY Farmhouse Table Riser in my thrift stash, so I had to come up with a plan. Furniture feet are a bit expensive for a table riser, so I found a better alternative. While browsing the aisles of Hobby Lobby, which I do often, by the way, I came across these wood candlestick holders. Five in a bag for $4.99 (got them for 40% off on sale that week yay). With a flat top and a decorative bottom, they would be beautiful for the table riser.
I have included products from Amazon to make the supply list easy and convenient to purchase. I earn a small commission if you make a purchase at no extra cost to you. Thank you for supporting me, it means so much!
Supply List
Thrift Store Cutting Board
10 Pack Farmhouse Stencil or Stencil Of Your Choice
Stencil Dabber
Black Craft Paint
Dixie Belle Paint In Cotton
220 Grit Sandpaper
Wooster Paint Brush
Pack Unfinished Wooden Candlesticks Hobby Lobby
Surebonder Glue Gun And Hot Glue
Minwax Polycrylic Spray
Prepping The Cutting Board For Paint
First things first. I used a Lysol wipe and gave the thrift store cutting board a good wipe down!
After drying it off with a paper towel, I then used a piece of 220 grit sandpaper to sand the top lightly, just to remove the light scratches and give it a smooth surface to work with.

Next, make sure to remove the sanding particles before painting by gently brushing them off.
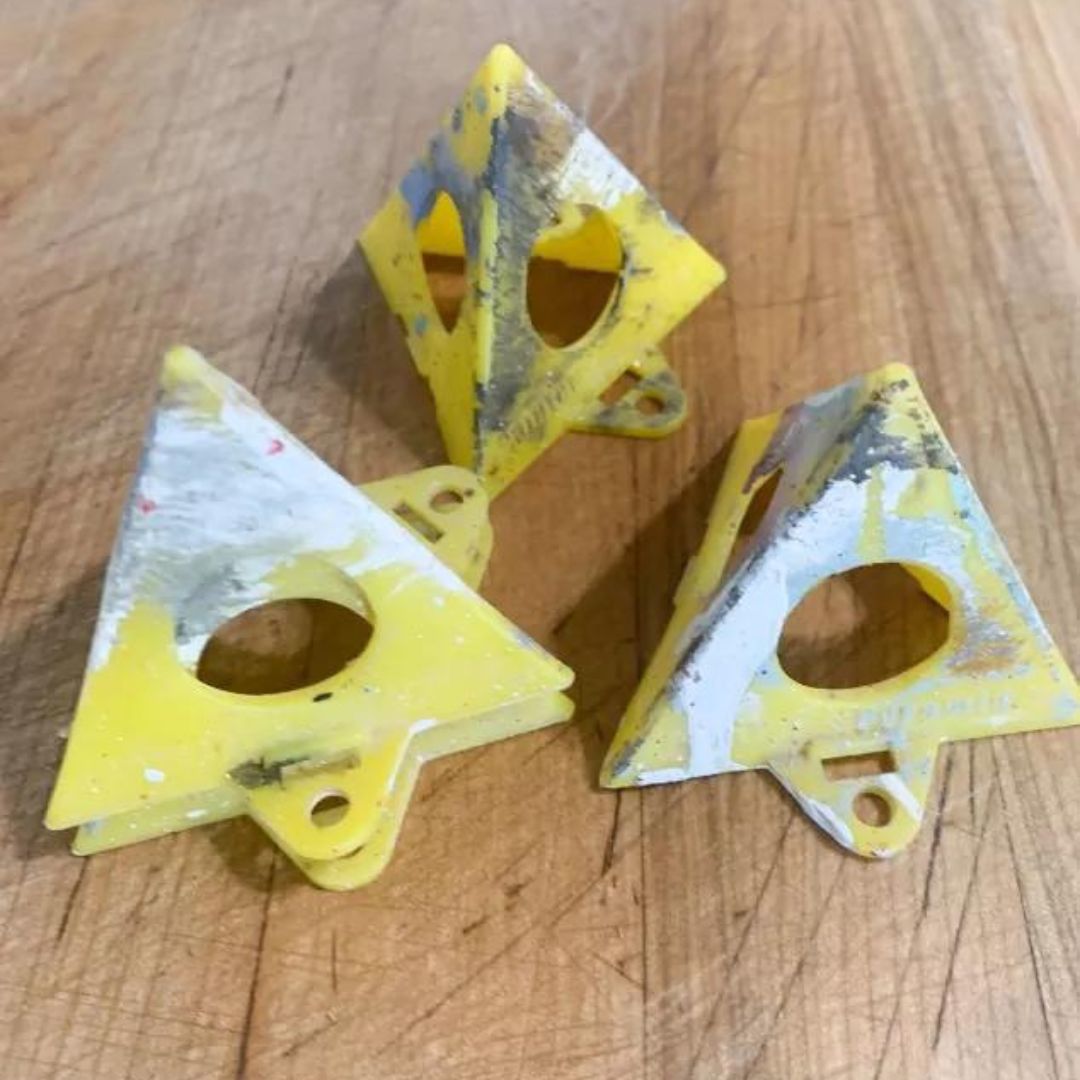
I found these neat cone paint risers on Amazon. They work great when painting small items and you do not have to worry about your piece sticking to your surface. Set your cutting board on top to paint, easy peasy!
Painting The Thrift Store Cutting Board
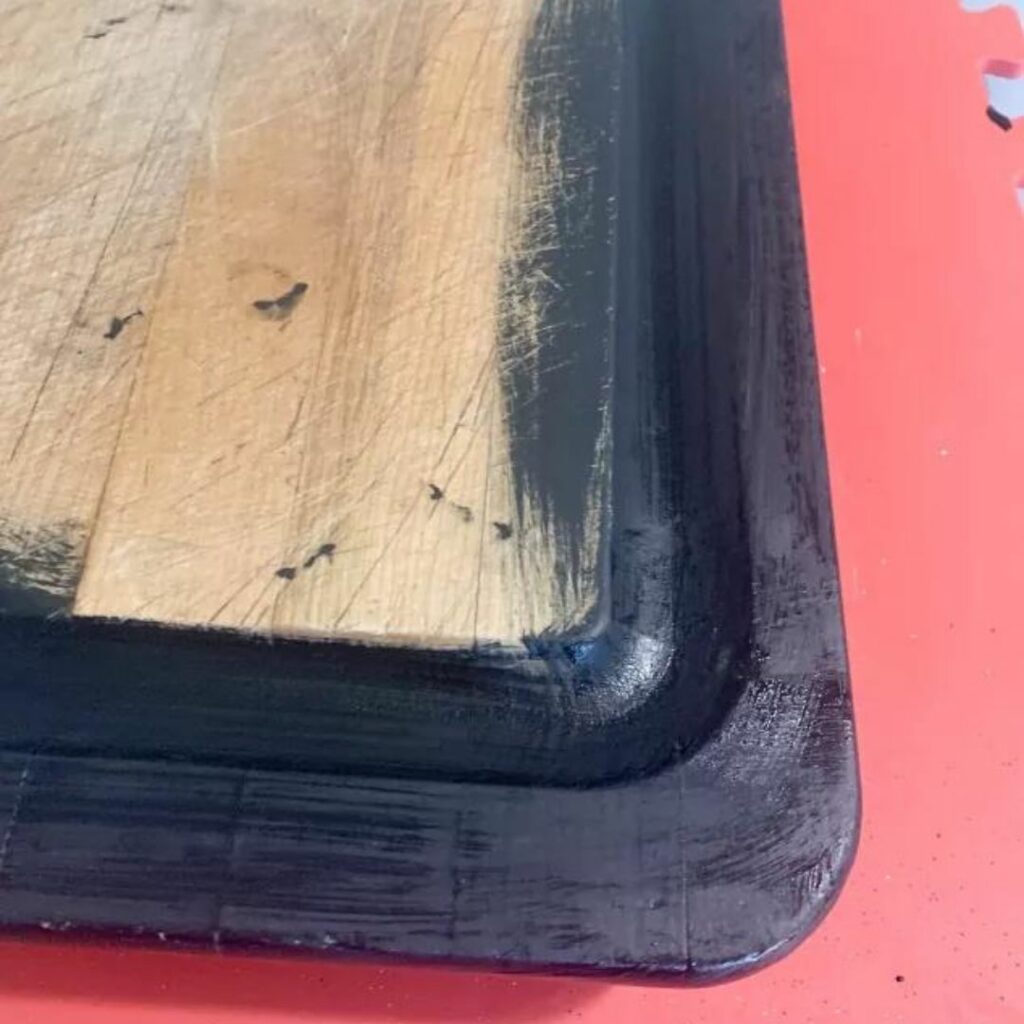
Since I was going to distress my table riser, I applied a coat of black paint to the outside of my cutting board.
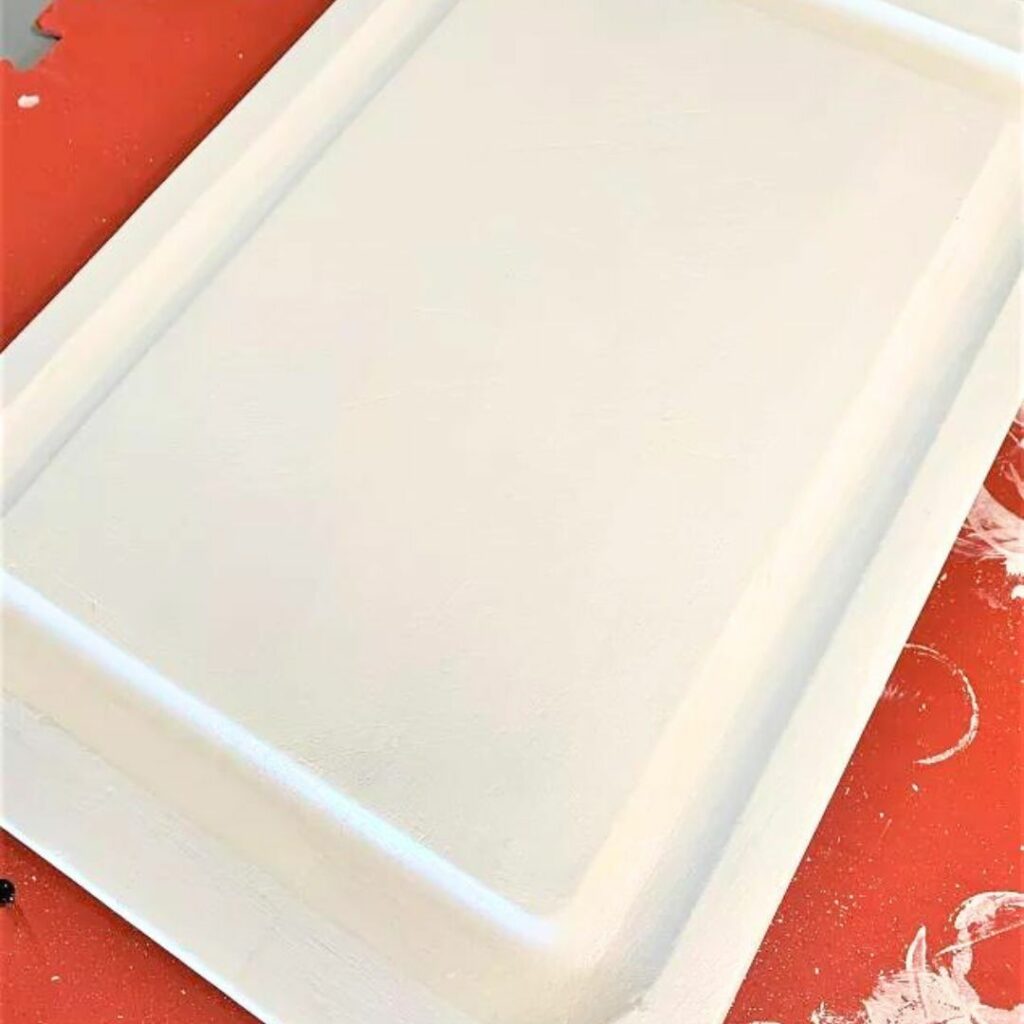
After drying, I then applied one coat of Dixie Belle’s Cotton to the entire thrift store cutting board. After about an hour of drying time, I applied a final coat.
Painting The Candlesticks
As noted above, my plan was to distress the entire table riser to achieve the farmhouse look. In order for the wood to appear darker after distressing, I gave the candlesticks two coats of black craft paint.

After about an hour of drying time, I then gave them two coats of the Dixie Belle Cotton. I allowed the cutting board and the candlesticks to dry overnight.
Distressing The Cutting Board And Candlesticks
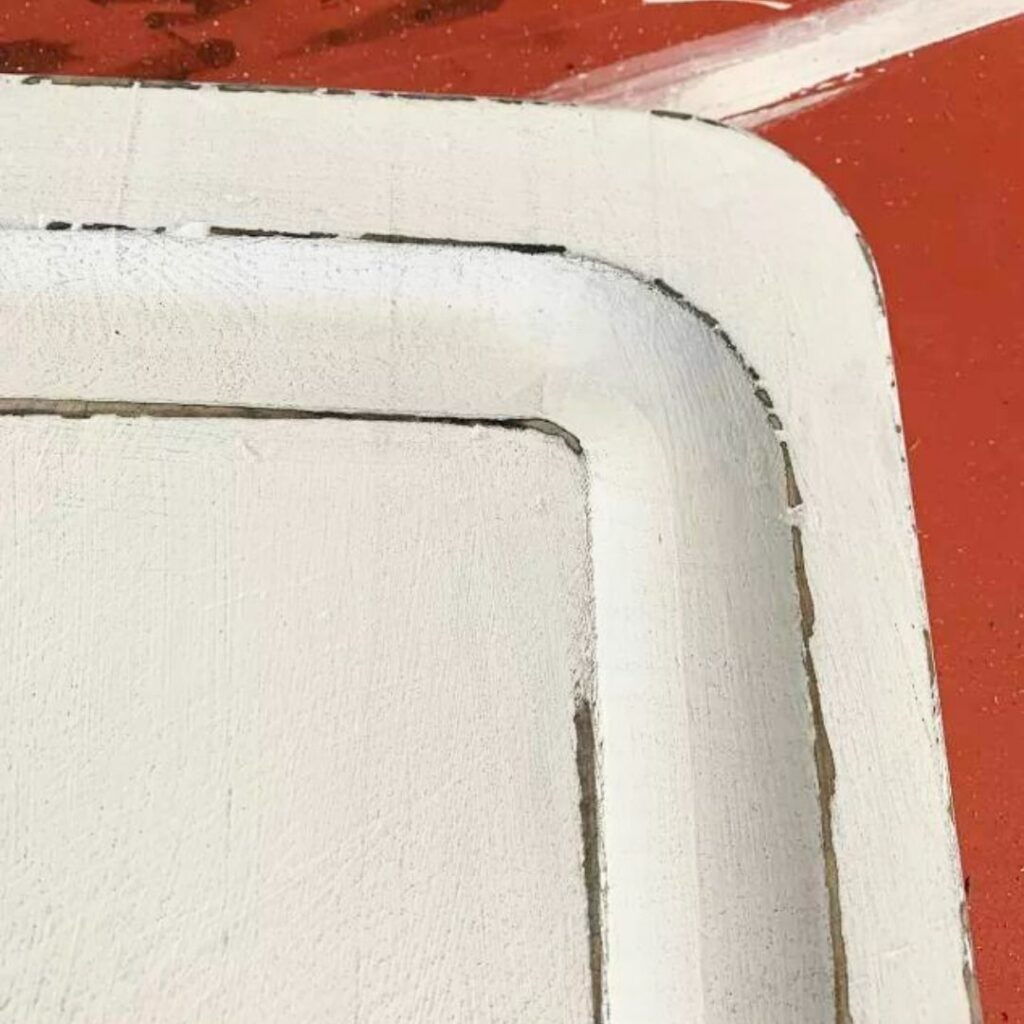
The next day I distressed the cutting board and the candlesticks with a piece of 120 grit sandpaper. Using my sandpaper, I lightly sanded around the edges of the board and the candlesticks. Just where normal wear and tear might take place after aging.
Apply The Stencil
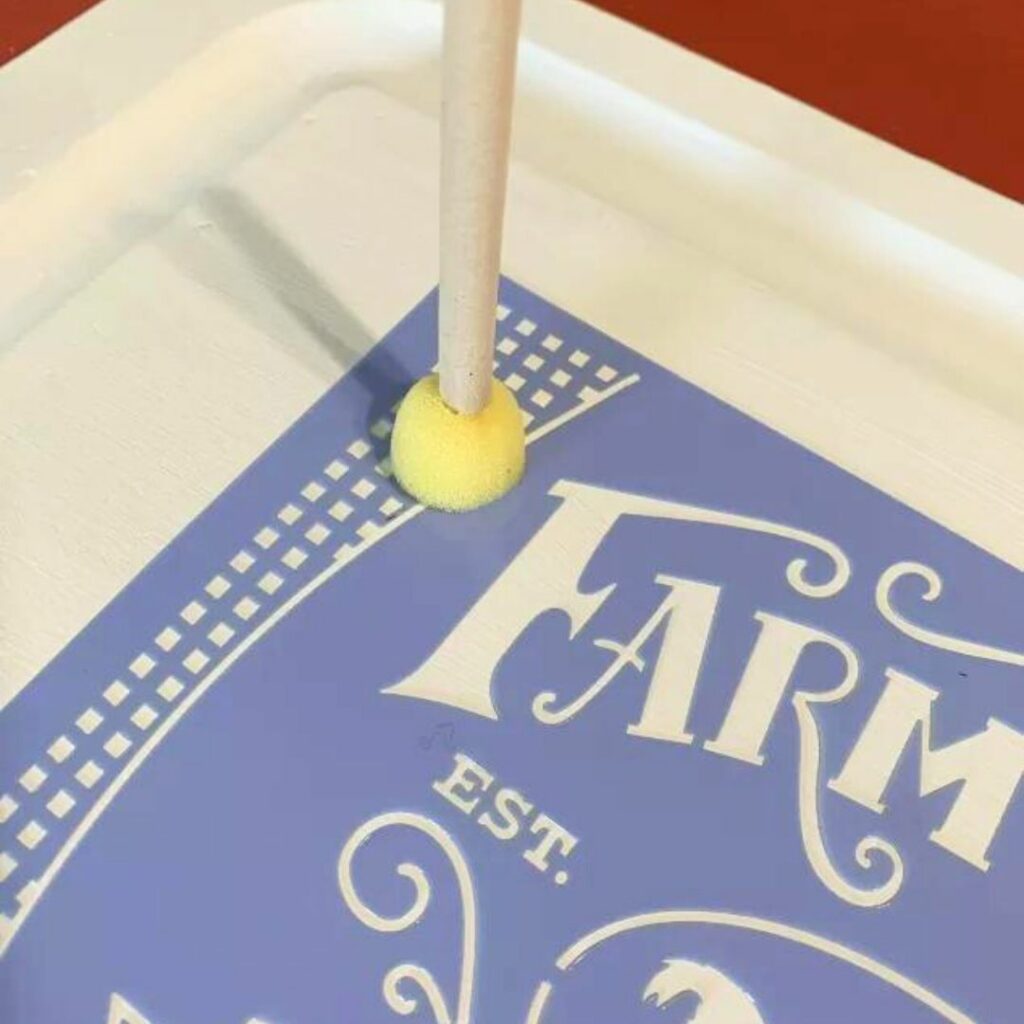
Remove the sanding dust before applying your stencil. I attached the stencil to the top of my cutting board with painter’s tape. With a stencil dabber, I applied the black craft paint.
Tip: Make sure to remove your stencil immediately after painting. Do not allow it to stay in place while waiting for the paint to dry. And, make sure to allow your project to dry overnight so the painter’s tape does not pull up your paint.
After the stencil dried for about an hour or two, I lightly (light is the key here!) sanded over it with 220 grit sandpaper, just enough to make it look worn.
Brush away the sanding dust and spray your brand-new farmhouse table riser with one coat of Polycrylic spray to protect the finish.
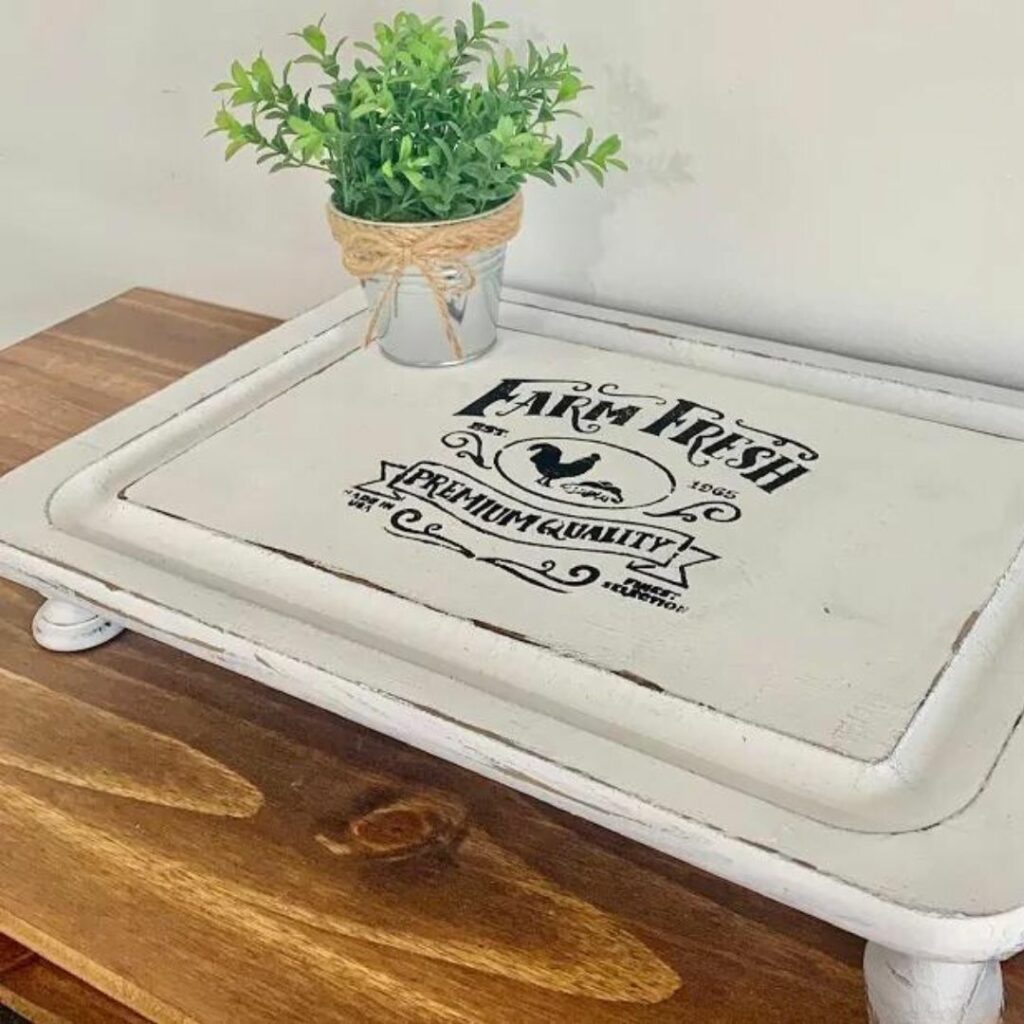
For less than $10 bucks, I have a beautiful, all wood, farmhouse table riser centerpiece!
Check out my “How to Make a Whiskey Bottle Look Old” and
I greatly enjoy seeing your creations! And not so many supplies and steps that it gets overwhelming. Thank you for sharing.
Thank you JoJo! I am happy to hear that you were able to follow along 🙂 I try to be as simple as possible.