
Two Amazing Dresser Makeovers
You may have seen my previous project, the Highland Cow Chest of Drawers Makeover. This was the first of my three dresser makeovers for my granddaughters.
Today I am sharing two dresser makeovers, one for Ashley and one for Amber. I had two very used dressers in my barn outside. I knew these would make wonderful dressers for my grandaughter’s rooms.
Even though they needed a little work, I knew I could make them beautiful. And the girls being so young, I did not see any reason to go out and spend hundreds of dollars on a new dresser.
Ashley’s Black Beauty Dresser Makeover
Ashley is the middle child and she is spunky and has such an outgoing personality! I thought maybe she would want a colorful and bright dresser, but low and behold, she asked for black! So NayNay obliged!
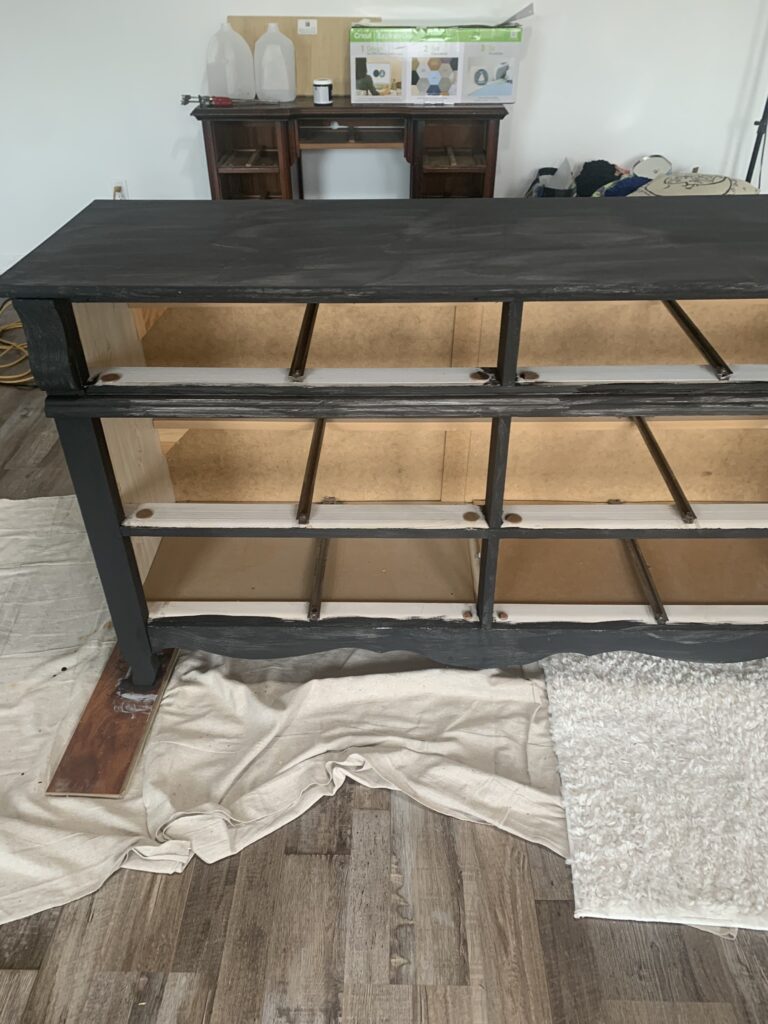
Here is the dresser. Yep, stickers galore! And a damaged spot or two, and missing some hardware. She required that I remove the “ribbon” looking decor pieces and the big one on the bottom because that was for “babies.”

The first order of business was to remove the hardware on the drawers. I then gave them a good cleaning before bringing them inside. I used the same cleaning process for the dresser.
I use dawn and water to clean my furniture. I also flip it to clean the bottom and clean the inside well so that all the yucky stuff from being stored outside is removed.
To easily remove the stickers, I used Windex. I sprayed a piece of paper towel with Windex and placed it on the sticker, allowing git to soak for a few minutes. Then, using a scrub sponge I lightly scrubbed the sticker away.

Prepping Black Beauty for Paint
After inspecting the dresser once brought inside, I noticed two chipped spots. I filled those with wood filler and allowed them to dry for a couple of hours until the filler had hardened. The wood filler made by MinWax is pink. As the wood filler dries, it turns to the normal beige-looking color.
You can see in this picture that the dresser was not wood. All I did was lightly sand to create a smooth service.

After the filler had dried, I used a piece of 220 grit sandpaper and lightly sanded the dresser to remove the market and crayon marks. Luckily, they were on top of the surface so not hard to remove. Then, wipe the piece down to remove the sanding dust.
Painting Black Beauty
Since I was using Dixie Belle paint, I did not apply primer. It’s not necessary, but you can do that if you choose. I have been painting furniture for over eight years now, and have never had an issue with the Dixie Belle paint finish (and, no, I do not get paid by Dixie Belle today that). It’s just an awesome chalk paint.
The color choice for Ashley’s dresser is Cavaiar, a deep rich black. I applied the first coat of paint to the drawers and the dresser. The next day, I applied coat number two and allowed it to dry overnight.
Look how much better it looks already!
Hardware Choice
I found the knobs and matching pulls at my local home improvement store and they were perfect!

It amazes me how much new hardware and paint and some elbow grease can transform a dirty, old, grundy dresser into a beauty!

Ashley is very happy with her dresser. She says it’s a “big girl” dresser now!
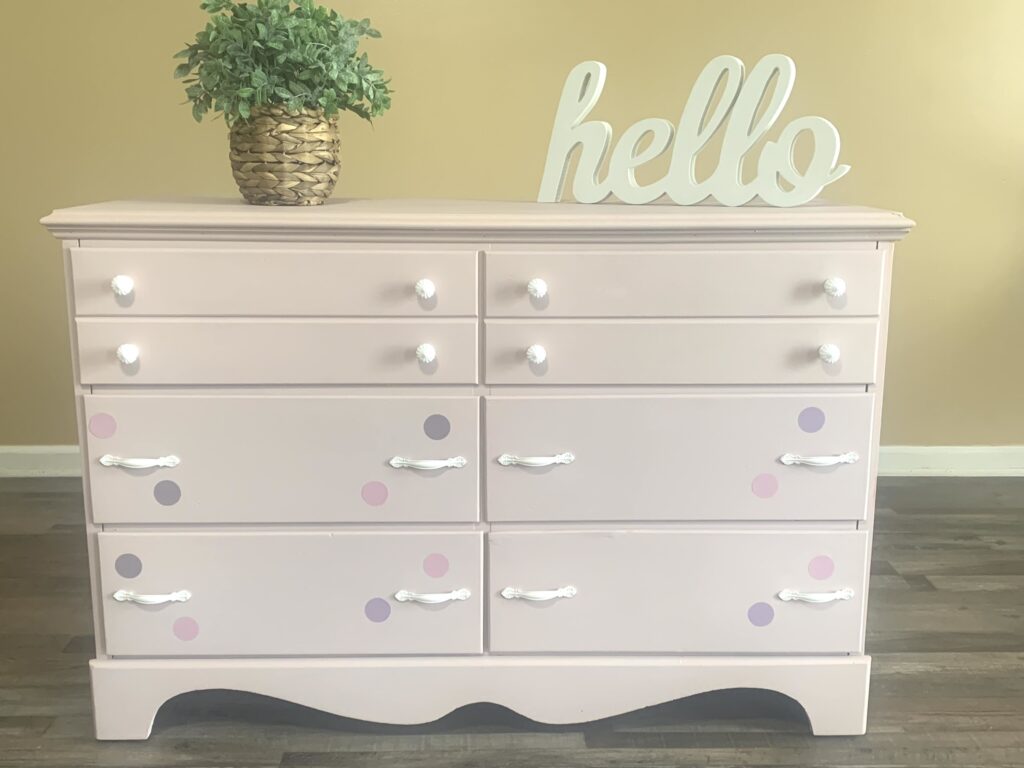
Polka Dot Cutie Dresser Makeover
The second dresser makeover was for Amber, the baby of the family. She is my little spunky, class-clown granddaughter and she loves color, so I knew she would be the one requesting something bright and bold.
She requested that her dresser color match the comforter on her bed (she was adamant about that lol). The two main colors of her comforter were purple and pink. The last request was that her dresser have pink and purple polka dots. While this is something I have never attempted, I was going to give it a go for Amber!
This dresser was in the worst condition of both of them, but I knew I could make it useable again! It was not wood, but particle board, so sanding had to be minimal.
D fixed the top of the drawer that you see in the image where a piece of the drawer chipped off. He cut a small piece of wood from a piece of scrap and we glued it with wood glue to the damaged area.
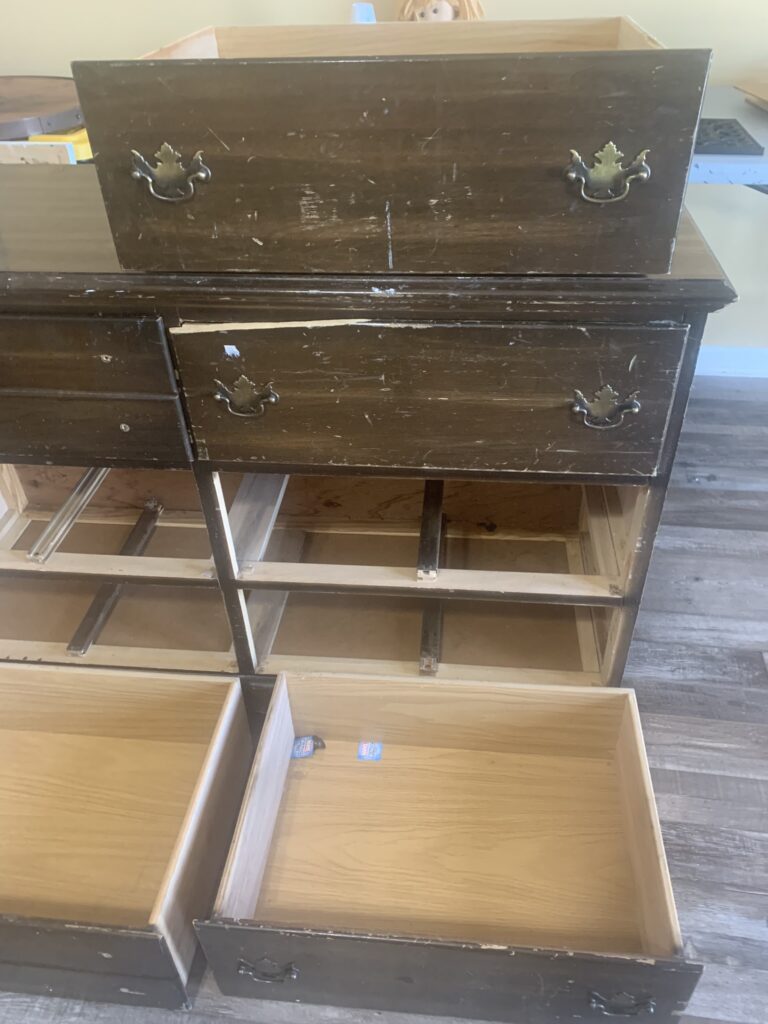
First I removed all the drawers. I VERY lightly sanded the piece and the drawer fronts using 220 grit sandpaper. This dresser was NOT wood, but Amber is a bit rough on furniture, so that’s why I decided it would work for her. If your piece is not wood, but particle board of MDF, you can’t sand it like you would a wooden piece.
It was missing some hardware, so new hardware would have to be purchased. I always wait until I finish the piece before I determine what hardware to use.
Prepping The Polka Dot Pink Dresser
First, let me apologize for not having the process pictures. I have no idea what happened to them. I had a computer issue and I think a few of my pictures were deleted.
For Amber’s dresser, I chose Dixie Belle’s Tea Rose, a light pinkish/purplish color. This color is pink but not a bright pink.
I was still pondering on how I was going to do the polka dots. But I will get to that in a bit.
After wiping the piece down and removing all the sanding dust, I applied the first coat of paint. I allowed it to dry overnight and applied the second coat.
See D’s sexy legs in the background 🙂
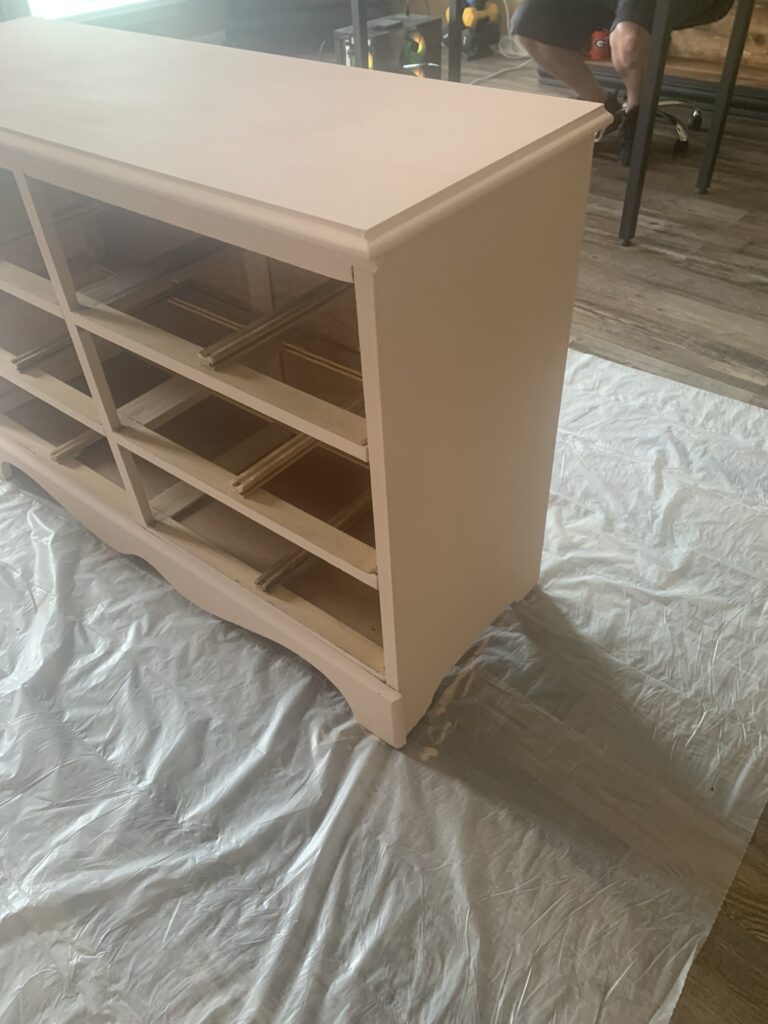
I also decided to apply a third coat, because I knew the dresser was going to see a lot of use.
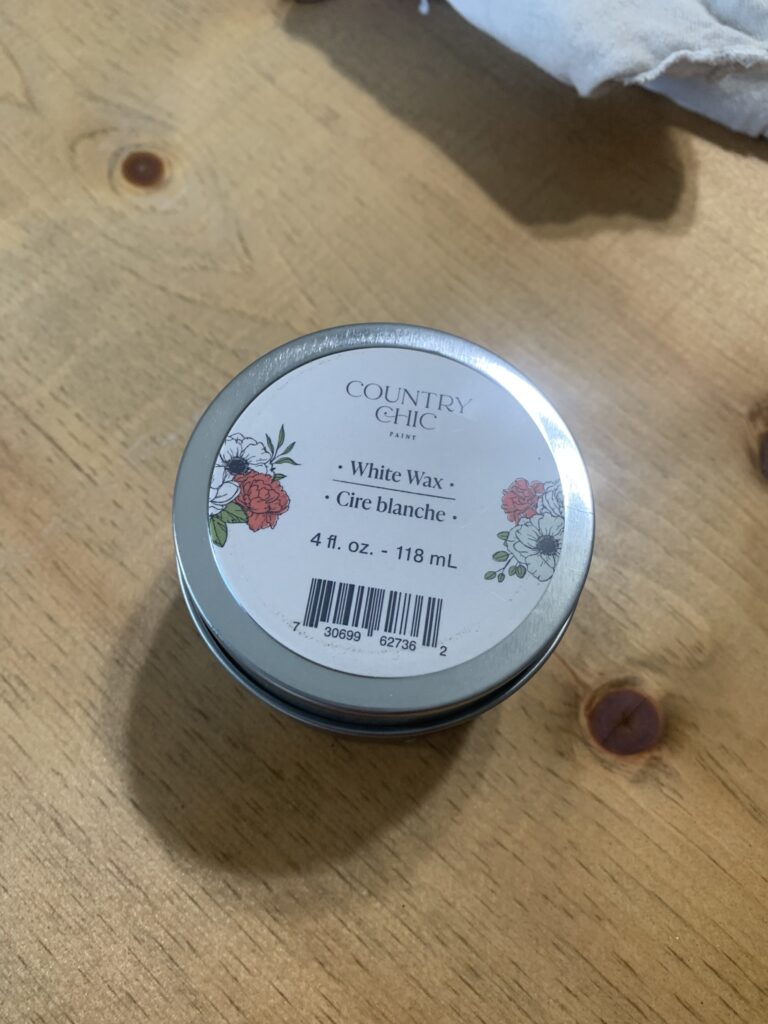
After the third coat of paint dried overnight, I applied a coat of white wax, just to give it a more subtle look. I just LOVE white wax! And, it’s super easy to apply.
This is the white wax I used:
The Polka Dot Dilemma
I took to Pinterest to find ideas on how to add polka dots to a dresser. Of course, most of the tutorials I found used stencils. I am NOT a stencil fan lol. There had to be another alternative.
After more searching, I found a tutorial where the DIYer used peel-and-stick polka dots and applied a coat of Mod Podge over them to adhere them to the dresser. SCORE! This was feasible.
These purple and pink polka dots that I found on Amazon were perfect for the project! They came in six sheets at $4.99 each so I ordered two sets just in case I messed up! There were other random colors so I wanted to make sure that I had enough. (Source: YouRFocus Store/Amazon)
I added them and then applied the modpodge directly over the dot. On one or two I did get Mod Podge on the dresser itself, but an easy light sanding got rid of that.
I purchased the pulls and matching knobs from Amazon.
Little Amber was THRILLED with her new dresser! Mom even says she is taking very good care of it!
It fills my heart to know that I have accomplished what these little darlings asked of me. And, the fact that every time they use or look at their dresser, they know I am there with them and how much I love them.
I hope these dresser makeovers will encourage you to give painting a try, and not to throw out a dresser just because it’s damaged!