
DIY Budget-Friendly Router Box Cover
We all have one. That ugly router box that haunts us every, single day. While sitting on the sofa having coffee, router box. Watching our favorite movie, Router Box. What if there was a simple way to disguise your router box? I am going to share with you today how I made my own DIY router box cover!

NOTE: This cover DOES NOT affect the way the router box works and it will NOT overheat. The back is left open and the openings in the metal sheets allow the router to breathe and function normally and our internet tech agreed!
I thought about buying one off of Amazon. To my surprise, the prices were a bit steep. Anywhere from $75 to $100.00.
The Idea
I was determined to figure out a solution. One day on one of my Hobby Lobby trips, I came across something a customer had in her basket. I heard her tell the cashier that she was using the item on an old thrift store storage box she had found at the thrift store to give it a bit of pizazz. Once she laid it on the counter, DING! Lightbulb moment.
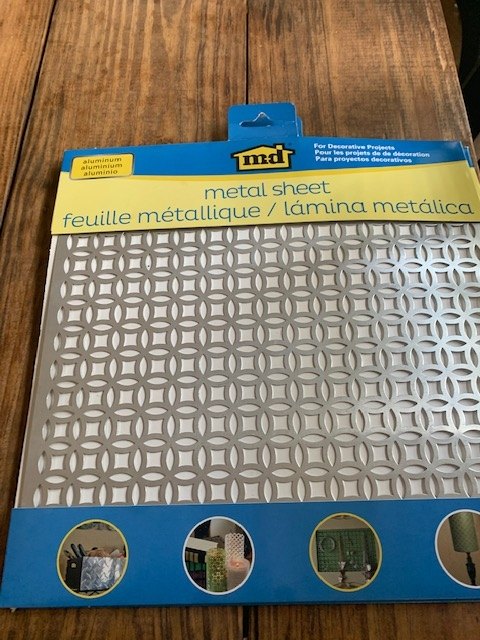
This is the item. Decorative aluminum metal sheets. Who knew! I snapped a picture and sent it to the Hubs and asked him to give me the measurements of our router box. I also asked for the height of the antennas. He giggled, he knew I was up to something.
Note: Make sure to measure the height of your antennas and construct your box to the same height in order to hide the antennas in the back.
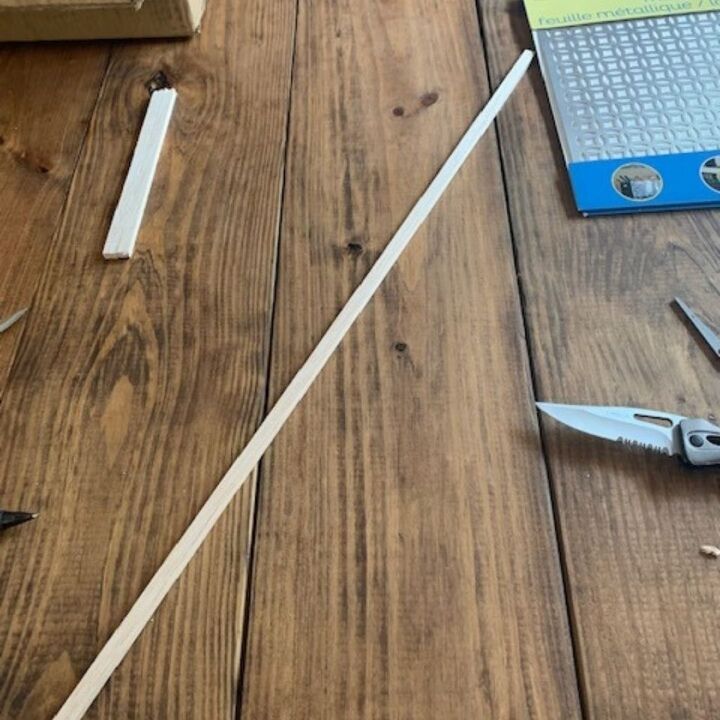
To construct the fame I found these basswood strips at Hobby Lobby. They are lightweight and perfect for what I needed! They are found normally by the restrooms in a tall storage box (not sure why lol!)
This is an easy DIY project. No power tools are needed for this project.
Measurements For The DIY Budget-Friendly Router Box Cover
Before beginning measure your router box for length, width, and height which includes the antennas if you would like to hide those as well.
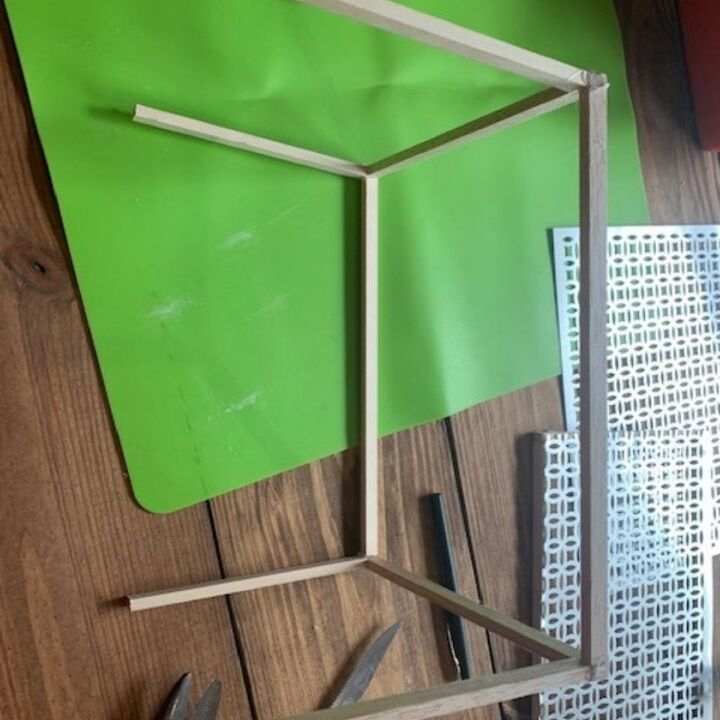
Constructing The Wood Frame
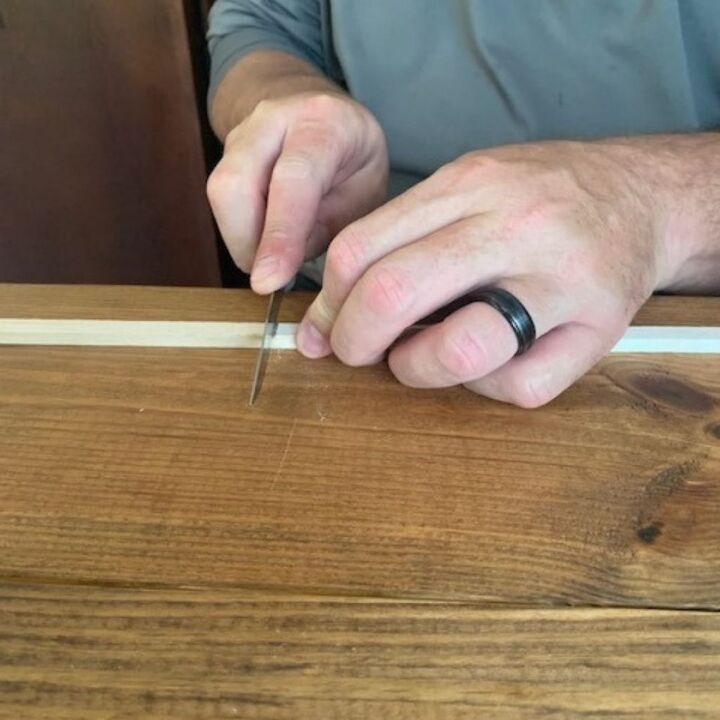
The first order of business is to construct the wood frame. After measuring our router box, we just used a kitchen knife with teeth to cut the basswood.
Here are our cuts. Your cuts will be different based on the size of your router box.
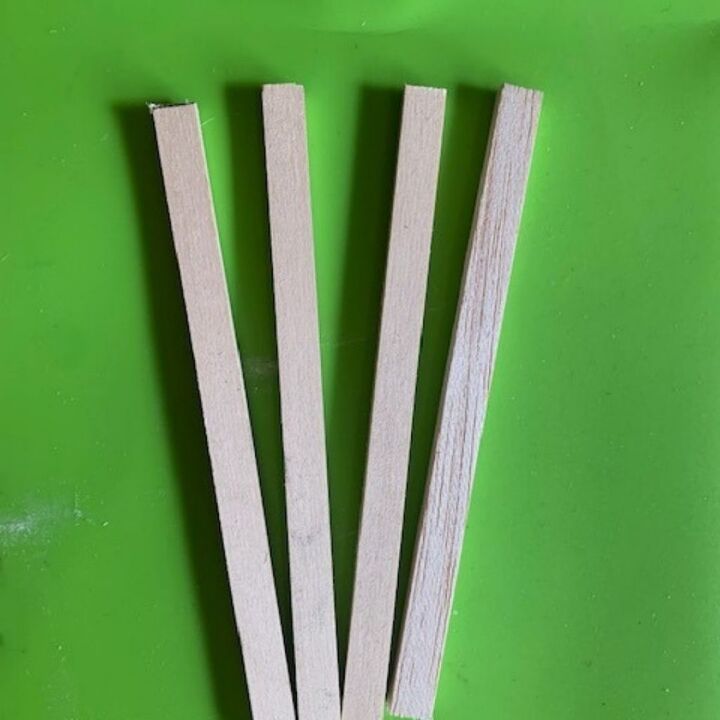
5 pieces at 8” long and 5 pieces at 9.75”. Our router box size is 8” high x 9.75 (the box is actually 9.50 so the quarter-inch will give it more room to breathe.
Next, glue them together to form a frame.
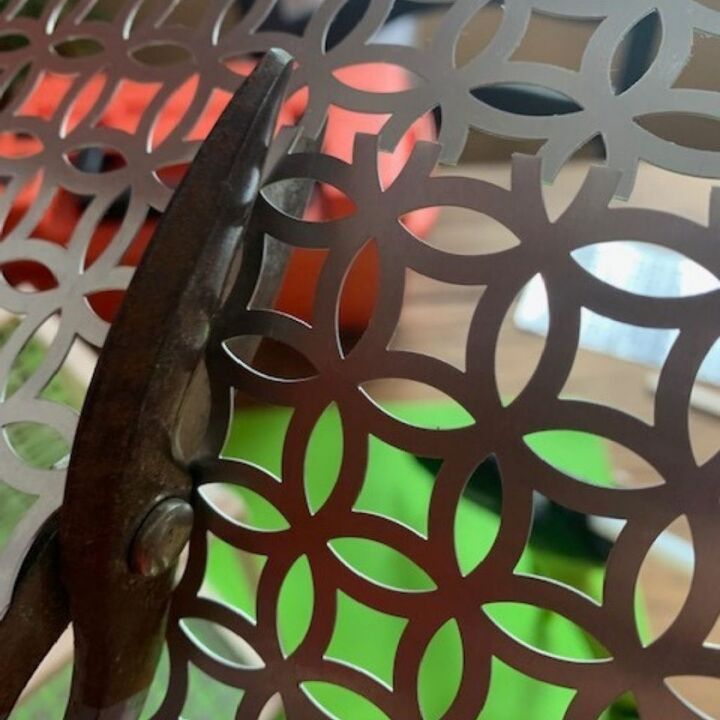
Adding The Metal Sheets
Cut the metal sheet with a pair of tin snips appropriate to size. I think heavy-duty scissors or wire cutters will work as well. You will end up with four pieces, one for each side, one for the top and front.
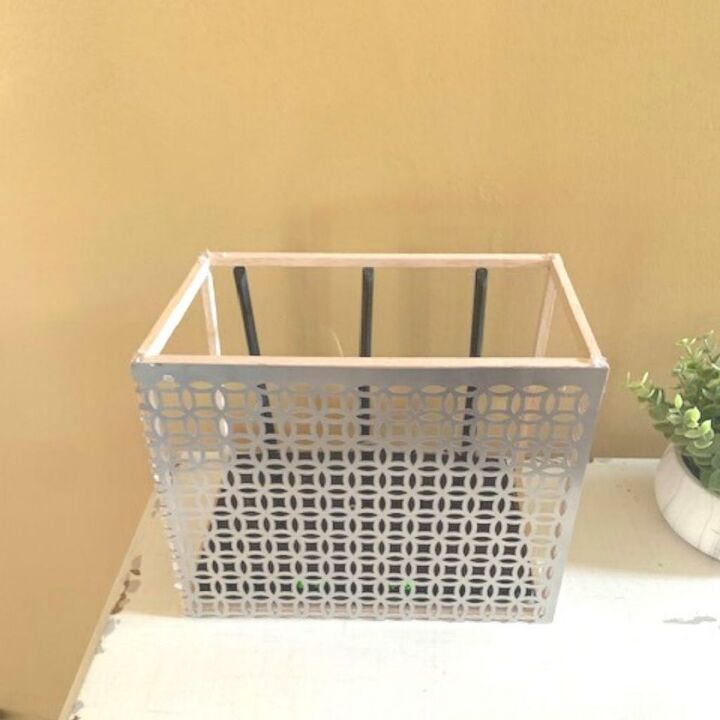
Glue the metal sheet pieces with hot glue. I LOVE my SUREBONDER glue gun!
After gluing one sheet, place your router box holder over your router just to make sure your measurements are correct before adding the other two sheets.
Painting Your Router Box Cover
I purchased one small can of Krylon Short Cuts spray paint. It was on sale for 30% off (lucky me!). Paint the entire box making sure to rotate it so that the inside and your frame are painted as well. Sorry about the shadows it was a nice sunny day outside!
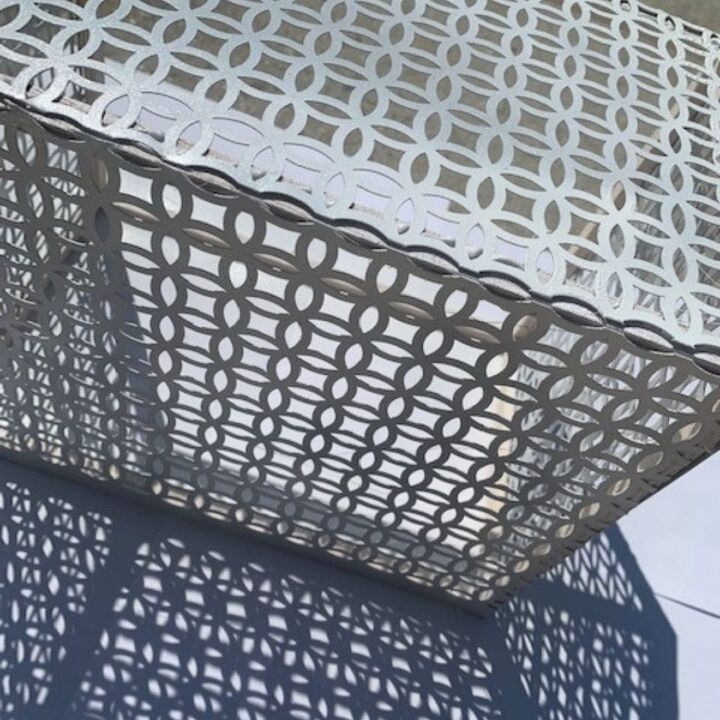
Apply one coat of polyacrylic to your box to protect the paint finish. I had this on hand.
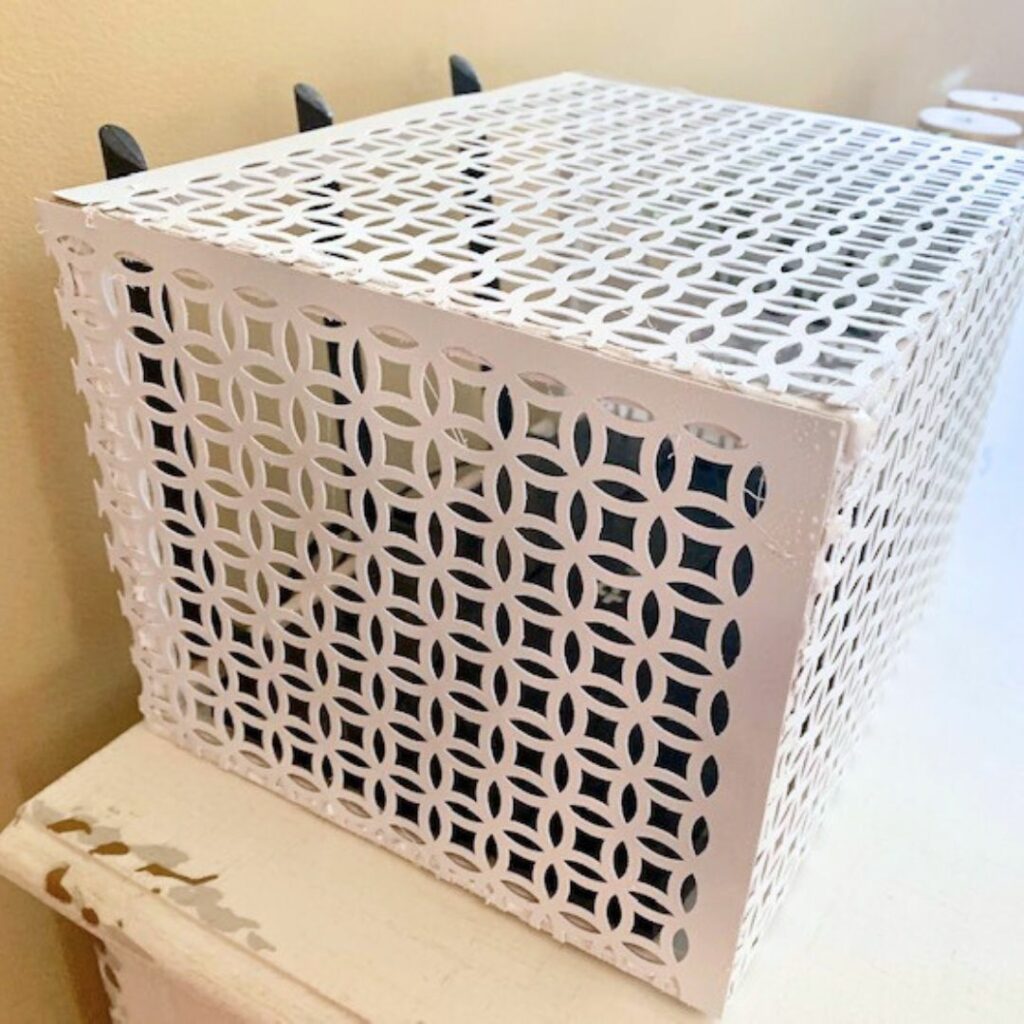
Placing Over Router Box
Lastly, slide the router box into your cover. We left our antennas outside the box. This is why there was no backpiece. I moved one out so that you could get a visual of the antennas.
In conclusion, this project cost me less than $20 bucks. This is an easy DIY Budget-Friendly Router Box Cover that will save you tons of money and cover that ugly router box. Furthermore, you can paint it any color of your choice, or if you like the metal look, then you can certainly leave it as is.
Check out these other DIY projects!
This is awesome.
Thank you for sharing I will try to tackle this, this weekend.
Hi Jenessa, thank you for visiting my blog! I can’t wait to see be sure to join the Facebook group where you can share your project 🙂
Awesome. Such a very clever, elegant and simple solution. I am very happy to have found your great blog, thank you so much.
Hi Corinna, thank you so much! I am glad to have you as part of my community 🙂